Early reflections
Side-wall, ceiling, and desk reflections can arrive shortly after the direct speaker sound, smearing imaging and making panning, vocal placement, and depth harder to judge.

A practical guide to controlling reflections, bass buildup, flutter echo, and monitoring problems so your room gives you mix decisions you can trust.
Most small and medium studios struggle with the same core issues. Fix these before covering the room with random foam or trying to correct everything electronically.
Side-wall, ceiling, and desk reflections can arrive shortly after the direct speaker sound, smearing imaging and making panning, vocal placement, and depth harder to judge.
Bass gathers in corners and interacts with room dimensions, creating peaks, nulls, and ringing that can lead to the wrong kick and bass decisions.
Speaker distance, ear height, listening position, desk reflections, and left-right symmetry all influence what you hear before treatment is even added.
A useful room usually combines several approaches. The goal is not to remove all reflections, but to control the reflections and decay that interfere with monitoring decisions.
Absorption reduces reflections and shortens decay time. Broadband panels are commonly used at first-reflection points, behind speakers, behind the listener, and on the ceiling.
Bass traps target low-frequency buildup and ringing. Corners and wall-ceiling junctions are common locations because low-frequency pressure often accumulates there.
Diffusion scatters reflections instead of simply absorbing them. It can help retain a sense of energy and space, particularly where there is enough listening distance.
Room correction can refine an already controlled room, but it is not a replacement for physical treatment. Tools such as Sonarworks SoundID Reference and Trinnov Optimizer work best after the basic acoustic problems are addressed.
Placement comes before treatment, and treatment comes before heavy correction. Measure as you go so each change is solving a real problem.
Fix the monitoring triangle, speaker height, distance from boundaries, and left-right symmetry before buying more treatment.
Add broadband absorption at the side walls, ceiling cloud area, and other early reflection zones that affect imaging and depth.
Prioritize corners and pressure zones where low-frequency buildup is strongest. In small rooms this can be one of the biggest improvements.
Use room measurement and calibration tools to confirm improvements and reveal problems your ears may have adapted to over time.
If the room exaggerates or cancels frequencies, blurs imaging, or rings after a note stops, you compensate for the room instead of the mix.
If the room exaggerates bass, you may under-mix the low end. If the listening position sits in a null, you may add too much. If reflections blur the stereo image, you may over-pan, over-EQ, or misjudge reverb and depth.
A more stable room gives you a more stable reference, which means fewer surprises on headphones, cars, phones, televisions, clubs, and streaming systems.
Immersive rooms raise the stakes further because more speakers create more reflection paths and more bass-management complexity. See the Dolby Atmos Music Mixing Guide.
Fluid Audio and Fluid Professional cover different levels of the same monitoring problem. Choose based on room size, listening distance, output requirements, workflow, and how critical the decisions need to be.
Coaxial monitoring provides focused imaging from a compact acoustic center, making the FX range practical for project studios and treated rooms where space and placement matter.
Image Series is the higher reference path for more demanding stereo and immersive rooms, with dedicated 3-way monitoring and scalable low-frequency extension.
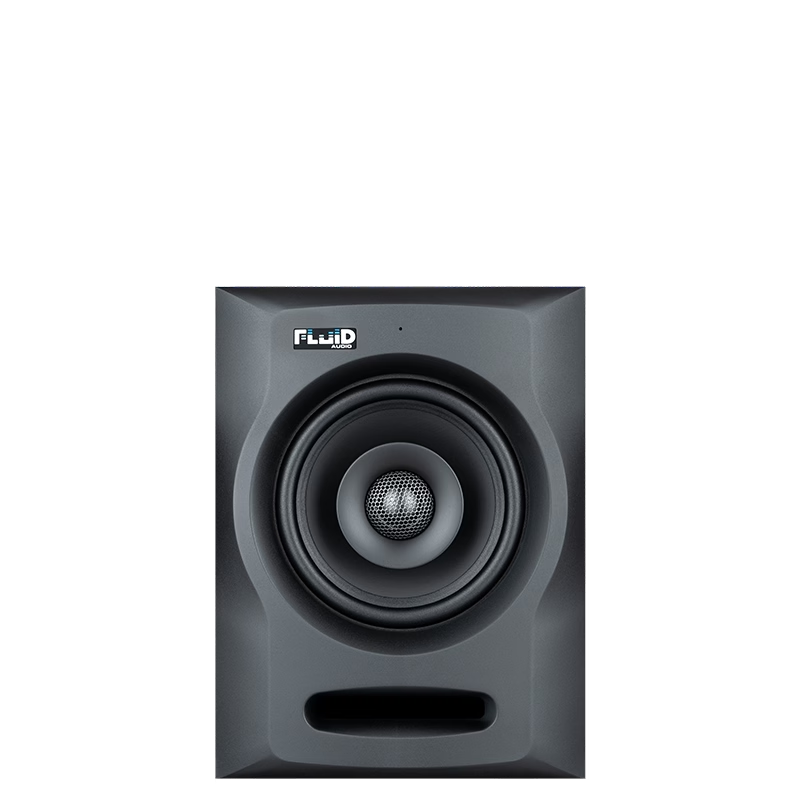
Compact coaxial monitoring for smaller treated rooms where imaging and placement are priorities.
View FX50 v2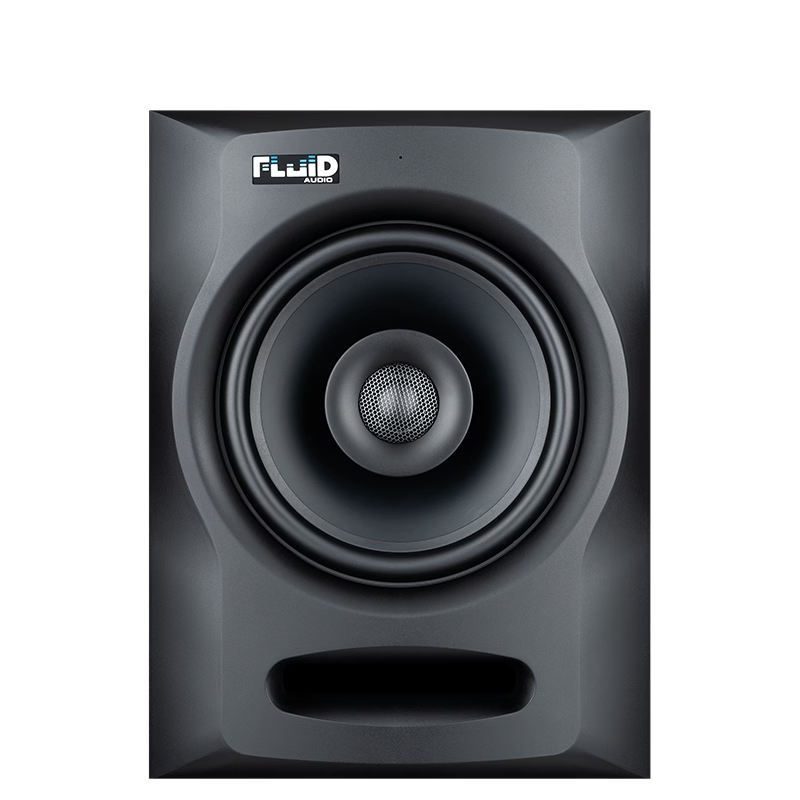
More output and low-frequency extension for larger project rooms and more demanding monitoring positions.
View FX80 v2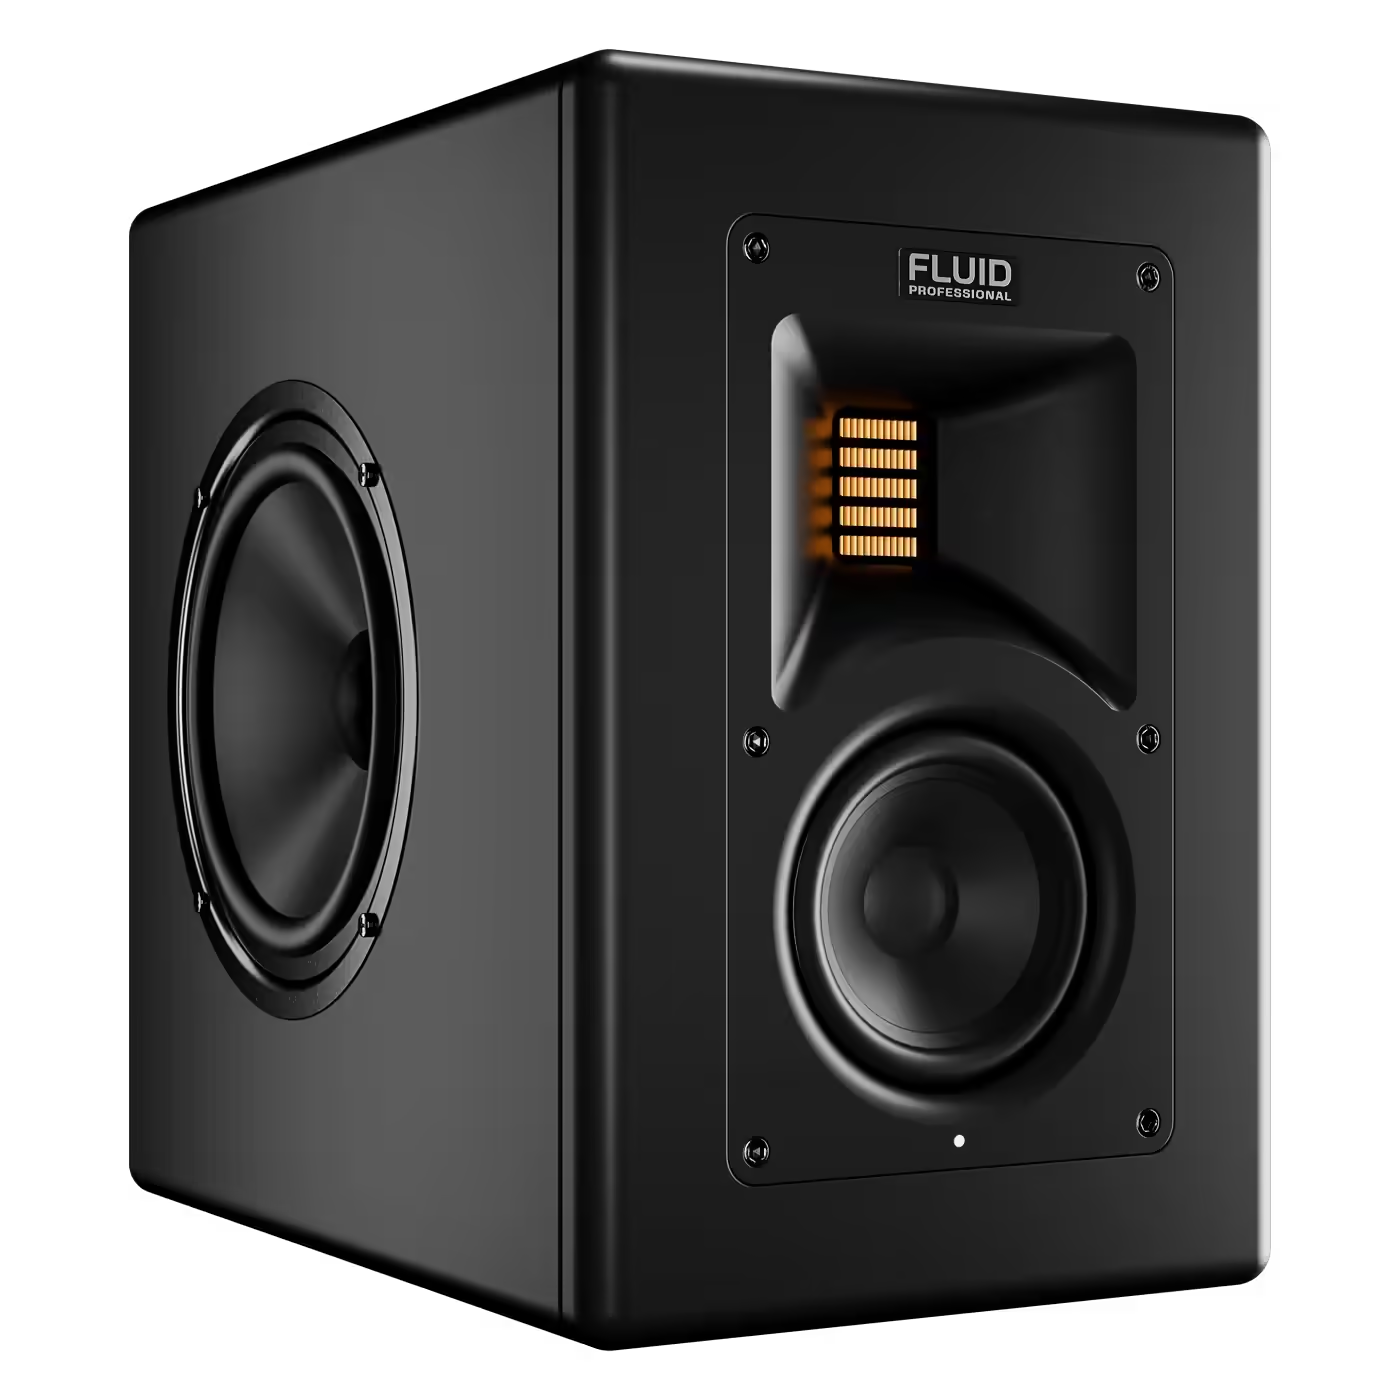
Compact 3-way reference monitoring for high-end nearfield work and scalable immersive systems.
View Image 1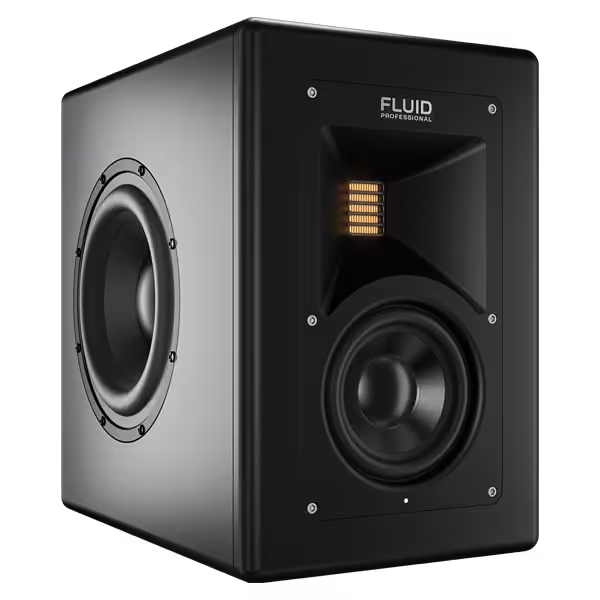
Higher output, greater scale, and deeper authority for larger critical listening rooms.
View Image 2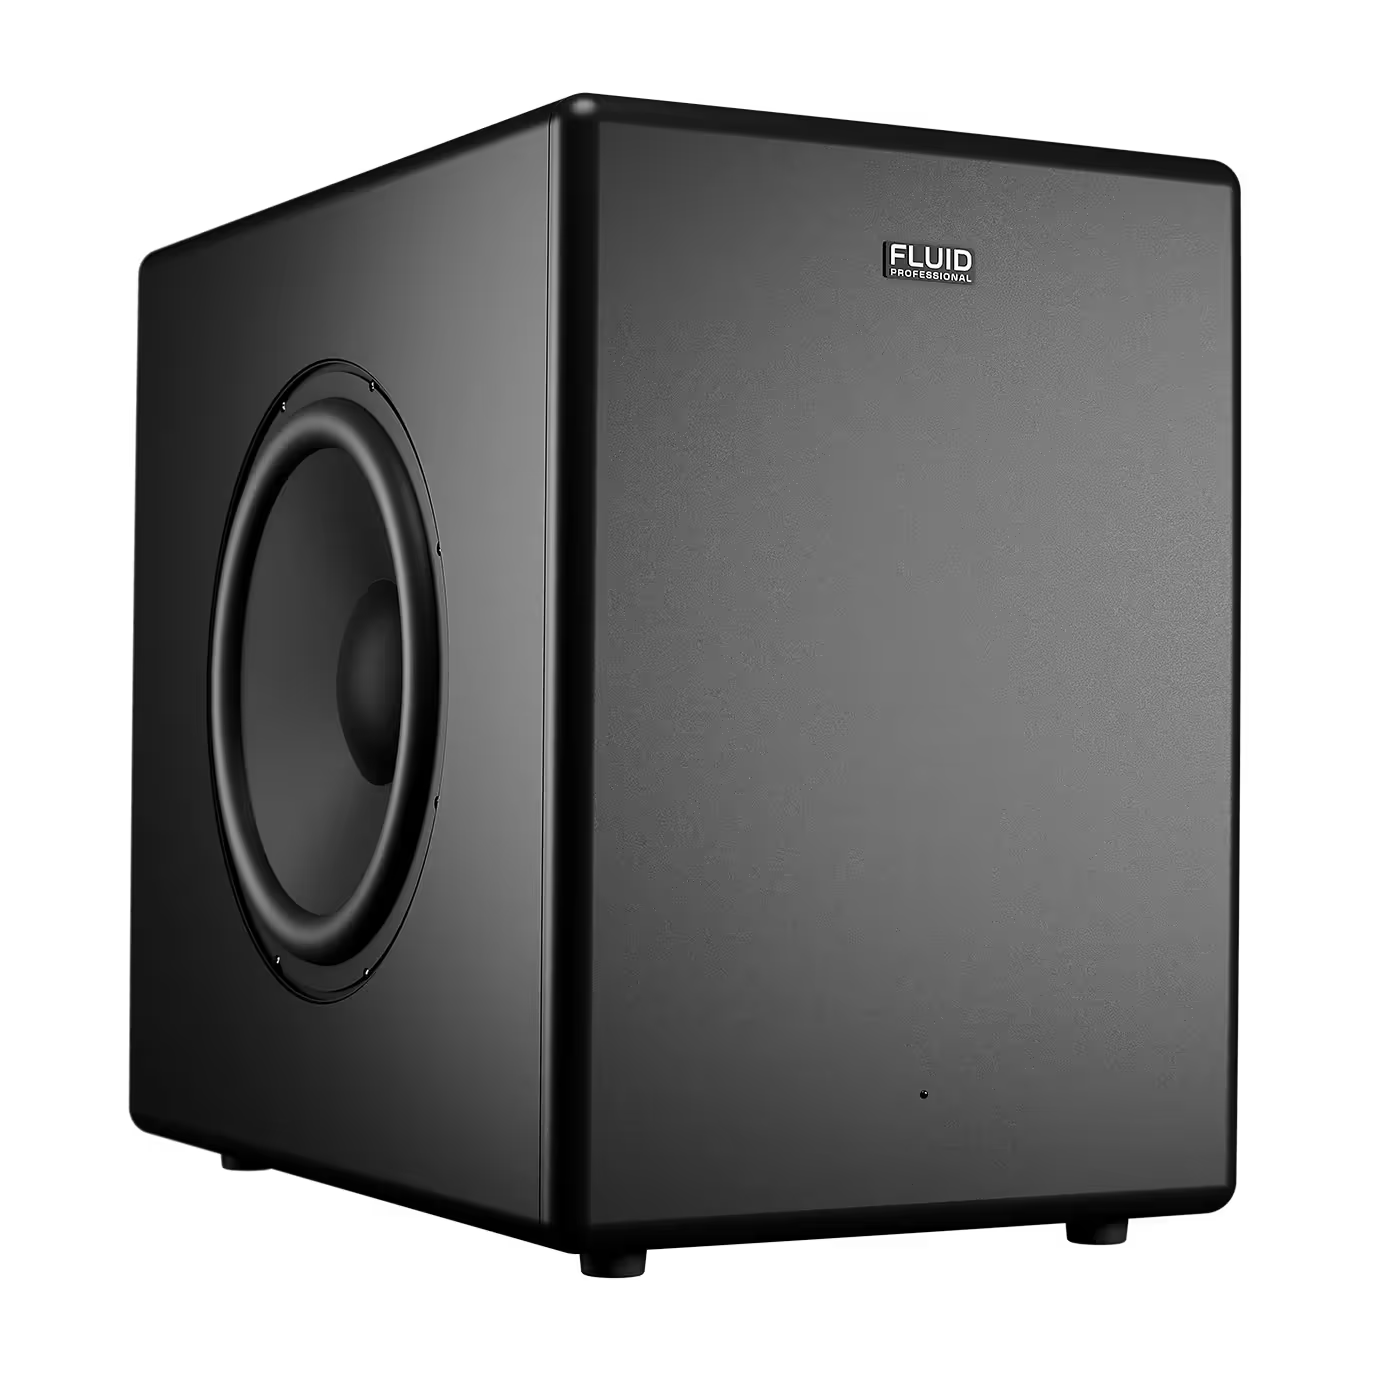
Controlled low-frequency extension for larger treated rooms, stereo systems, and immersive LFE work.
View 212SEven a treated room can be compromised by poor speaker height, unstable angles, desk interaction, or uneven left-right placement.
Correct monitor height, angle, symmetry, and distance from nearby surfaces help create a more stable listening triangle. Treatment then has a better starting point because the direct speaker sound and early reflection geometry are more controlled.
DS5 and DS8 help move compatible monitors away from the desk surface while giving you useful height and angle choices.
Most treatment decisions become easier when you separate physical room problems from monitor problems and work through them in a sensible order.
Thin foam can reduce some high-frequency reflections, but it does little for the low-frequency problems that dominate many small rooms. Broadband absorption and bass trapping are usually more useful starting points.
You do not need a perfect room before choosing good monitors, but monitor placement and basic treatment make it much easier to hear what the monitors are actually doing.
No. Correction can help refine frequency response at the listening position, but it cannot stop reflections, shorten room decay, or physically remove low-frequency ringing.
Start with speaker and listening position, then first-reflection control and bass trapping. Measure the result before adding more treatment or correction.
The goal is not a dead room. The goal is a controlled room that lets you hear balance, imaging, depth, and low end clearly enough to make better decisions.
Add Fluid Audio as a preferred source to see more of our articles in Google Search.